Configure Mirte
This step in only needed in case you are not using the Mirte PCB (or followed the breadboard instructions). For other MCUs (or other wiring of the Raspberry Pi Pico) the software still needs to know which pin is connected to what kind of hardware. This can be done in two ways.
From the Web Interface
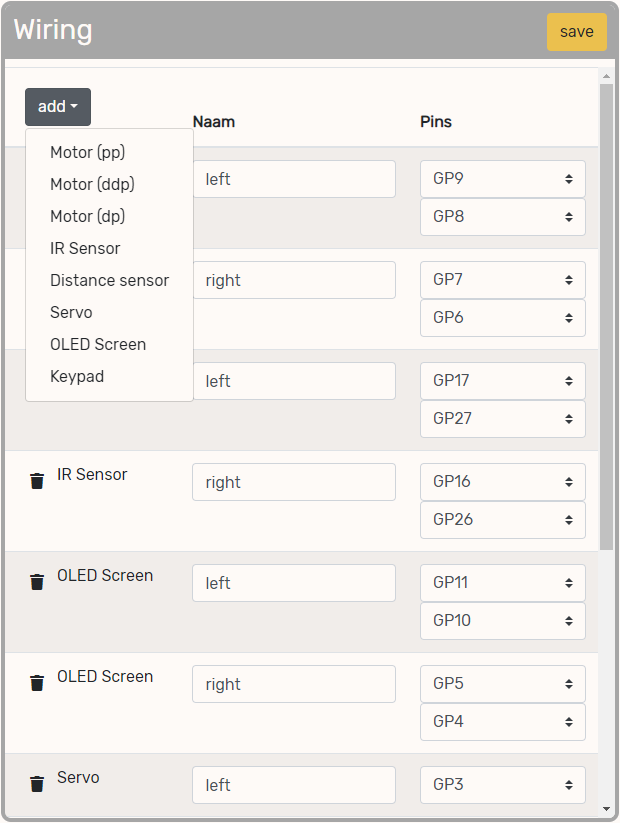
On the webinterface this can be done by removing and adding the peripherals in order to match your robot hardware:
From the Terminal
The configuration to map the pins to sensortypes is done in /usr/local/src/mirte/mirte-ros-packages/mirte_telemetrix/config/mirte_user_config.yaml. This file consists of multiple sections needed for Mirte to know which pins to control. The default settings are the Mirte PCB. Below we will got though all sections (of the Raspberry Pi Pico on a breadboard).
device:
  mirte:
    type: breadboard
    board: pico                     # [pico, blackpill_f103c8, nanoatmega328]
    max_frequency: 50
Each config needs to state which type of device is is controlling. In this case we have one device called ‘mirte’ of type ‘breadboard’ with a ‘pico’ on it. The sampling frequency is set to 50Hz, so every 2ms new sensor data will come in. Please note that your max_frequency might depend on the number of sensors you have connected. The more sensors you connect, the lower the sampling frequency can get. If your sampling frequency is too high you will notice a delay in the data.
